Ubuntu 22.04 LTS 64位系统安装 American Fuzzy Lop (AFL) 2.56b 踩坑记录,使用 QEMU mode 进行简单测试实践。
1 安装依赖
 1
 2
 3
 4
 5
 6
 7
 8
 9
10
11
12
sudo apt update
sudo apt-get install -y cargo \
\
\
\
\
\
\
\
\
pip3 install lit
1.1 添加环境变量 Path
编辑终端配置文件。
1
2
3
4
5
# bash
sudo nano ~/.bashrc

# zsh
sudo nano ~/zshrc
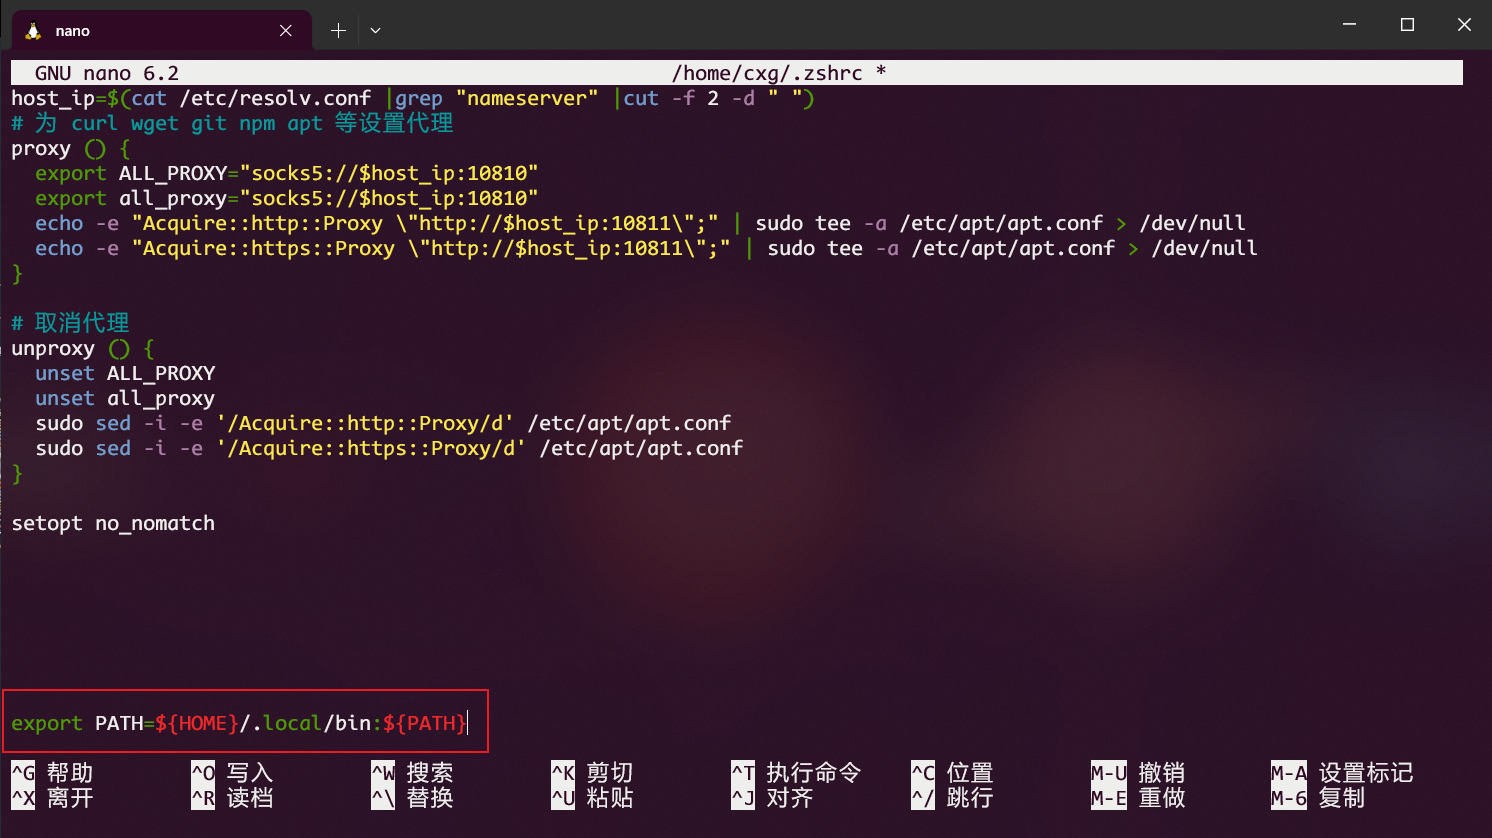
添加环境变量:
1
export PATH = ${ HOME } /.local/bin:${ PATH }
编辑Path变量
启用配置文件,bash 使用source ~/.bashrc;zsh 使用~/.zshrc。
1.2 设置 Python
AFL 使用的是 Python2,Ubuntu22.04 上没有安装。因此需要安装 Python2并将其设置为默认 Python。
1
sudo ln -s /usr/bin/python2 /usr/bin/python
1.3 安装 clang10
参考此文章安装并设置 clang10 为默认版本。
Ubuntu 22.04 LTS 64位系统安装 clang10 版本
https://www.haoyep.com/posts/ubuntu22-install-clang10/ 2 安装 Z3
要求版本号大于4.5
1
2
3
4
git clone https://github.com/Z3Prover/z3.git
cd z3 && mkdir build && cd build
cmake -G "Ninja" ../
ninja
1
2
3
4
sudo apt-get update
sudo apt-get install gnutls-bin
git config --global http.sslVerify false
git config --global http.postBuffer 1048576000
到此问题解决,重新进行git clone,可以顺畅下载。
3 安装 AFL
1
2
git clone -b v2.56b https://github.com/google/AFL.git afl
cd afl && make
afl工具列表
3.1 安装 qemu 模式
编译 qemu,支持二进制文件黑盒分析。
3.1.1 依赖环境
安装 libtool 等资源库
1
sudo apt-get install libtool-bin libgtk2.0-dev -y
3.1.2 patch 代码
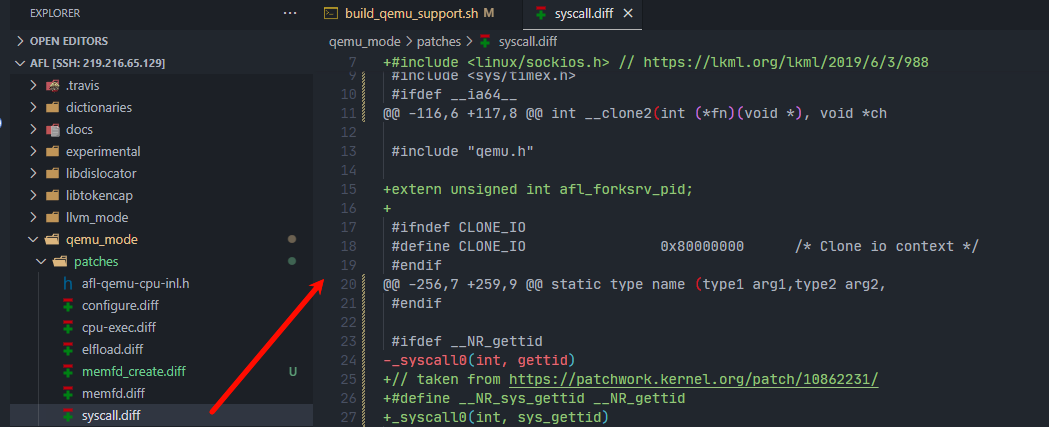
为了避免 AFL/issues/41 中出现的error: ‘SIOCGSTAMP’ undeclared here (not in a function); did you mean ‘SIOCSRARP’?、error: ‘SIOCGSTAMPNS’ undeclared here (not in a function); did you mean ‘SIOCGSTAMP_OLD’?,需要修改为 patch 中的文件内容。修改 afl/qemu_mode/patches目录中的syscall.diff文件内容如下:
 1
 2
 3
 4
 5
 6
 7
 8
 9
10
11
12
13
14
15
16
17
18
19
20
21
22
23
24
25
26
27
28
29
30
31
32
33
34
35
36
37
38
39
40
41
42
43
44
45
46
47
48
49
50
51
52
53
54
55
56
57
58
59
60
61
62
63
64
65
66
67
68
69
70
71
72
73
74
75
76
77
78
79
80
81
82
83
84
85
86
87
--- qemu - 2.10 . 0 - clean / linux - user / syscall . c 2020 - 03 - 12 18 : 47 : 47.898592169 + 0100
+++ qemu - 2.10 . 0 / linux - user / syscall . c 2020 - 03 - 12 19 : 16 : 41.563074307 + 0100
@@ - 34 , 6 + 34 , 7 @@
#include <sys/resource.h>
#include <sys/swap.h>
#include <linux/capability.h>
+ #include <linux/sockios.h> // https://lkml.org/lkml/2019/6/3/988
#include <sched.h>
#include <sys/timex.h>
#ifdef __ia64__
@@ - 116 , 6 + 117 , 8 @@ int __clone2 ( int ( * fn )( void * ), void * ch
#include "qemu.h"
+ extern unsigned int afl_forksrv_pid ;
+
#ifndef CLONE_IO
#define CLONE_IO 0x80000000 /* Clone io context */
#endif
@@ - 256 , 7 + 259 , 9 @@ static type name ( type1 arg1 , type2 arg2 ,
#endif
#ifdef __NR_gettid
- _syscall0 ( int , gettid )
+// taken from https : // patchwork . kernel . org / patch / 10862231 /
+ #define __NR_sys_gettid __NR_gettid
+ _syscall0 ( int , sys_gettid )
#else
/* This is a replacement for the host gettid () and must return a host
errno . */
@@ - 6219 , 7 + 6224 , 8 @@ static void * clone_func ( void * arg )
cpu = ENV_GET_CPU ( env );
thread_cpu = cpu ;
ts = ( TaskState * ) cpu -> opaque ;
- info -> tid = gettid ();
+ // taken from https : // patchwork . kernel . org / patch / 10862231 /
+ info -> tid = sys_gettid ();
task_settid ( ts );
if ( info -> child_tidptr )
put_user_u32 ( info -> tid , info -> child_tidptr );
@@ - 6363 , 9 + 6369 , 11 @@ static int do_fork ( CPUArchState * env , un
mapping . We can 't repeat the spinlock hack used above because
the child process gets its own copy of the lock . */
if ( flags & CLONE_CHILD_SETTID )
- put_user_u32 ( gettid (), child_tidptr );
+ // taken from https : // patchwork . kernel . org / patch / 10862231 /
+ put_user_u32 ( sys_gettid (), child_tidptr );
if ( flags & CLONE_PARENT_SETTID )
- put_user_u32 ( gettid (), parent_tidptr );
+ // taken from https : // patchwork . kernel . org / patch / 10862231 /
+ put_user_u32 ( sys_gettid (), parent_tidptr );
ts = ( TaskState * ) cpu -> opaque ;
if ( flags & CLONE_SETTLS )
cpu_set_tls ( env , newtls );
@@ - 11402 , 7 + 11410 , 8 @@ abi_long do_syscall ( void * cpu_env , int n
break ;
#endif
case TARGET_NR_gettid :
- ret = get_errno ( gettid ());
+ // taken from https : // patchwork . kernel . org / patch / 10862231 /
+ ret = get_errno ( sys_gettid ());
break ;
#ifdef TARGET_NR_readahead
case TARGET_NR_readahead :
@@ - 11688 , 8 + 11697 , 20 @@ abi_long do_syscall ( void * cpu_env , int n
break ;
case TARGET_NR_tgkill :
- ret = get_errno ( safe_tgkill (( int ) arg1 , ( int ) arg2 ,
- target_to_host_signal ( arg3 )));
+ {
+ int pid = ( int ) arg1 ,
+ tgid = ( int ) arg2 ,
+ sig = ( int ) arg3 ;
+
+ /* Not entirely sure if the below is correct for all architectures . */
+
+ if ( afl_forksrv_pid && afl_forksrv_pid == pid && sig == SIGABRT )
+ pid = tgid = getpid ();
+
+ ret = get_errno ( safe_tgkill ( pid , tgid , target_to_host_signal ( sig )));
+
+ }
+
break ;
#ifdef TARGET_NR_set_robust_list
替换syscall.diff文件内容
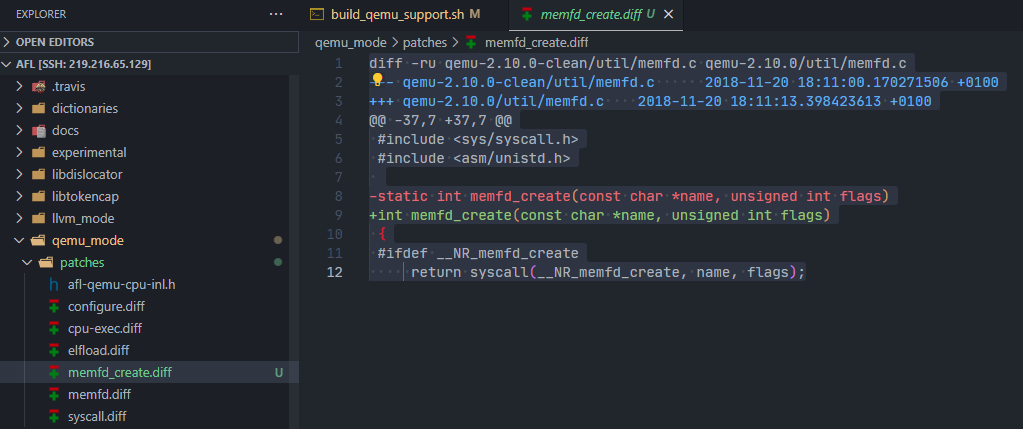
在 afl/qemu_mode/patches目录中新增memfd_create.diff文件,内容如下:
 1
 2
 3
 4
 5
 6
 7
 8
 9
10
11
12
diff - ru qemu - 2.10 . 0 - clean / util / memfd . c qemu - 2.10 . 0 / util / memfd . c
--- qemu - 2.10 . 0 - clean / util / memfd . c 2018 - 11 - 20 18 : 11 : 00.170271506 + 0100
+++ qemu - 2.10 . 0 / util / memfd . c 2018 - 11 - 20 18 : 11 : 13.398423613 + 0100
@@ - 37 , 7 + 37 , 7 @@
#include <sys/syscall.h>
#include <asm/unistd.h>
- static int memfd_create ( const char * name , unsigned int flags )
+ int memfd_create ( const char * name , unsigned int flags )
{
#ifdef __NR_memfd_create
return syscall ( __NR_memfd_create , name , flags );
新增memfd_create.diff文件
3.1.3 修改脚本
修改build_qemu_support.sh文件
修改QEMU_URL为QEMU_URL="https://download.qemu.org/qemu-${VERSION}.tar.xz"修改QEMU_URL 在patch -p1 <../patches/syscall.diff || exit 1的下一行添加patch -p1 <../patches/memfd_create.diff || exit 1添加memfd_create.diff patch命令 3.1.4 编译及安装
在 afl 的根目录打开终端执行以下命令:
1
2
3
4
5
6
cd qemu_mode

./build_qemu_support.sh

cd ..
sudo make install
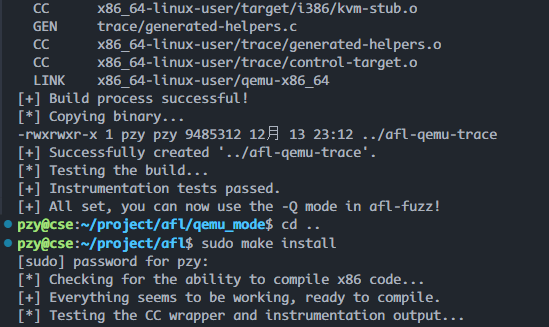
afl编译成功示例
3.2 运行 qemu mode
假设存在文件目录结构如下。其中in文件夹中的a.in文件是输入的初始种子,手动输入一个命令行参数进去即可。
1
2
3
4
5
./qemu-test/
├── benchmark /* 要测试的程序二进制文件 */
├── in        /* 输入文件夹,存储用户自定义的输入种子 */
│   └── a.in
└── out       /* 输出文件夹,存储AFL探索到的测试用例 */
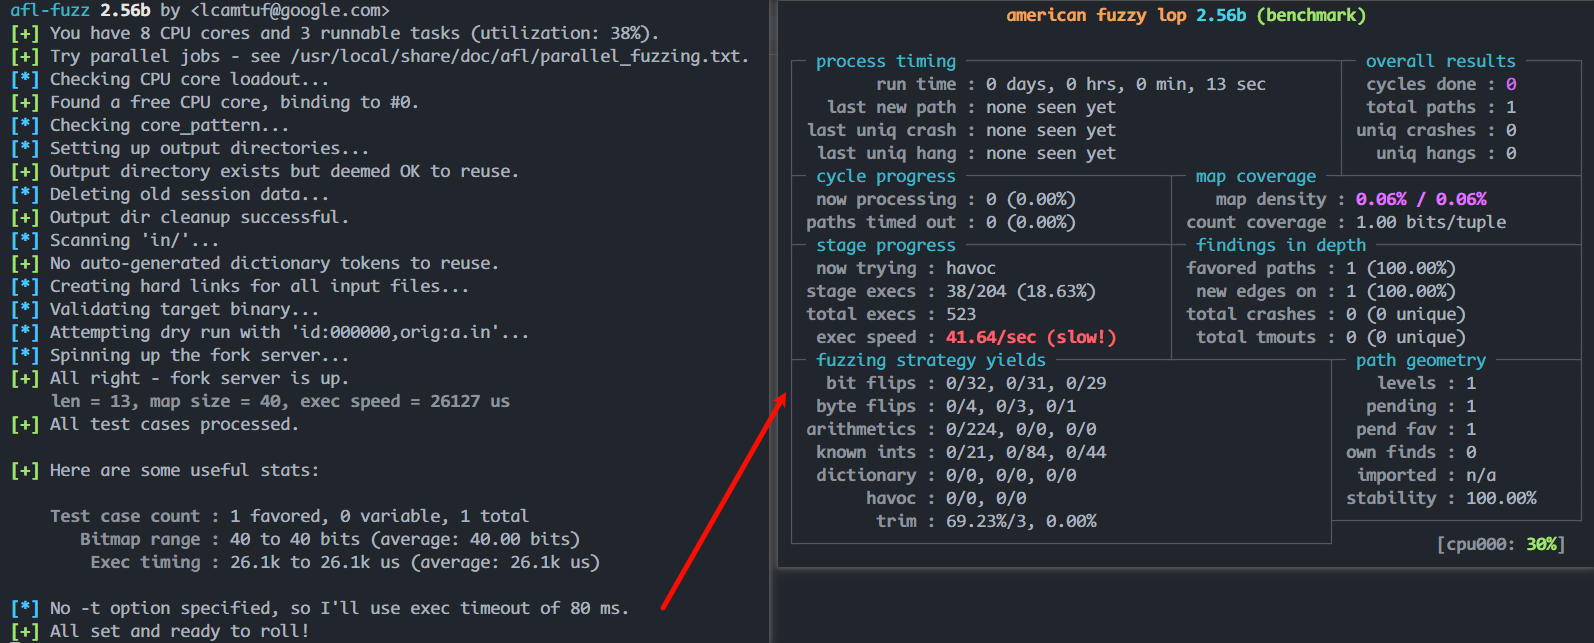
则使用以下命令运行 AFL qemu mode。稍等片刻,就可以看到 AFL 运行界面。
1
afl-fuzz -i in/ -o out/ -Q ./benchmark
运行 qemu mode
3.2.1 停止运行
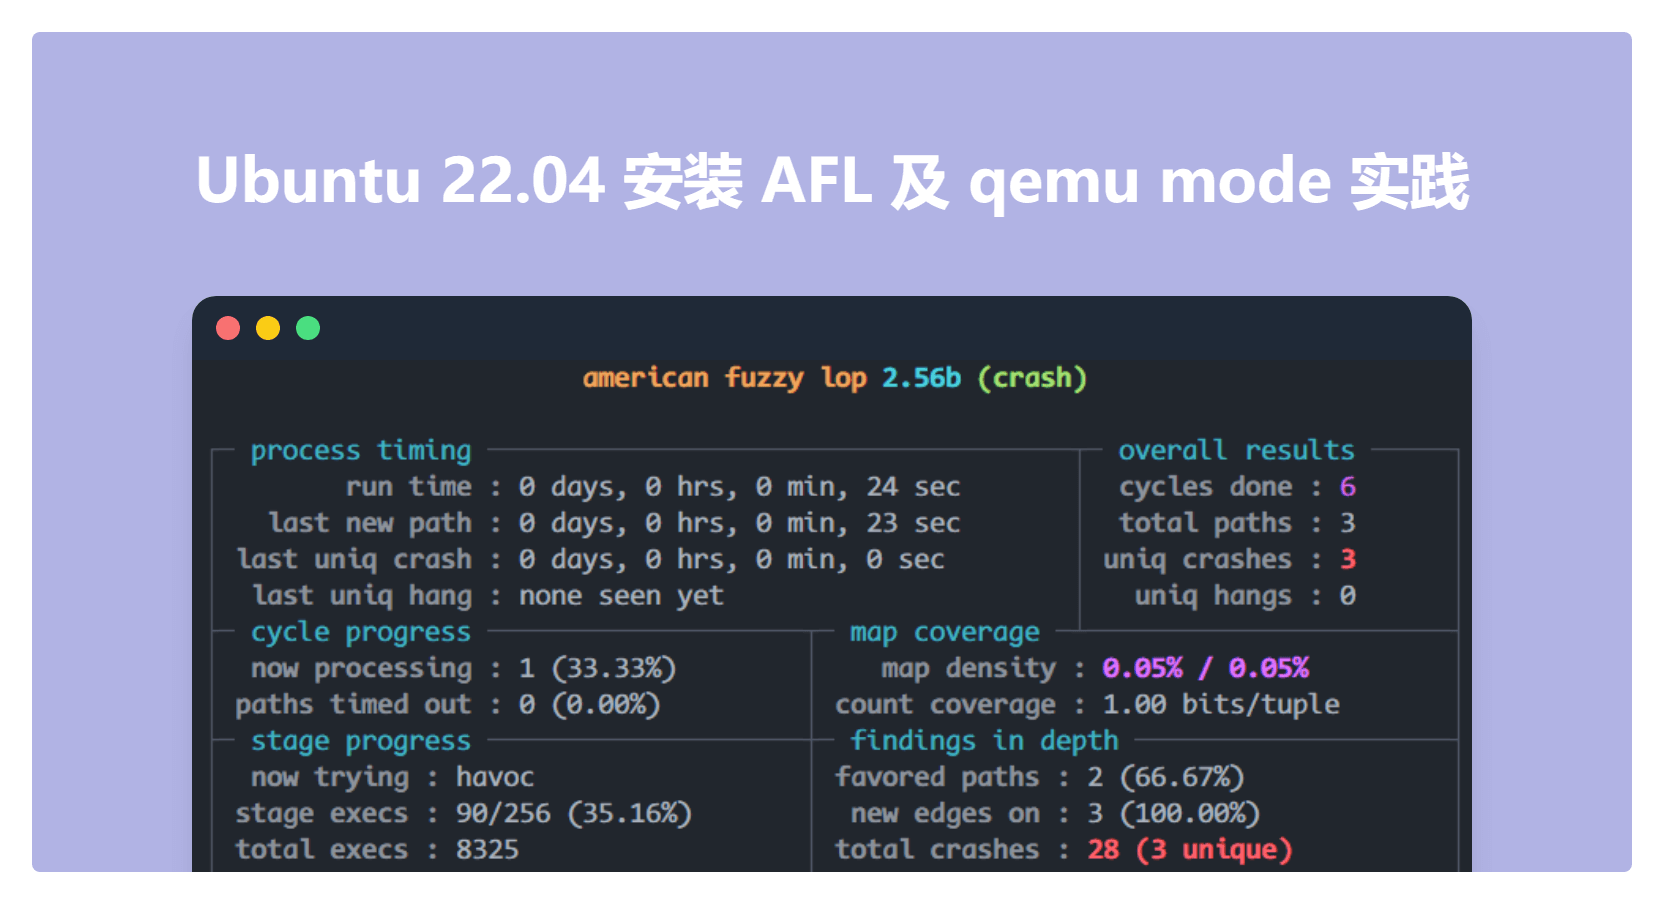
当cycles done的数字变成绿色,说明 AFL 已找不到更有价值的路径。此时,就可以按下Ctrl+C终止 AFL 运行。绿色,可以停止运行AFL
4 失败报错解决方案
4.1 core_pattern
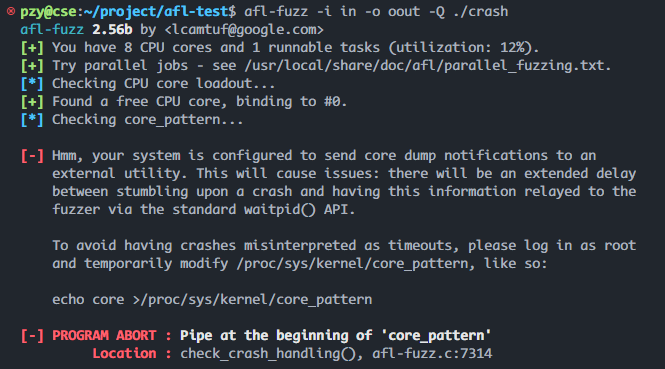
core_pattern错误
参考 AFL fuzzing without root - avoid modifying /proc/sys/kernel/core_pattern ,这是因为 AFL 希望系统将 coredump 输出到文件,而不是上报给系统的处理程序。报错信息如下:
[-] Hmm, your system is configured to send core dump notifications to an
external utility. This will cause issues: there will be an extended delay
between stumbling upon a crash and having this information relayed to the
fuzzer via the standard waitpid() API.
To avoid having crashes misinterpreted as timeouts, please log in as root
and temporarily modify /proc/sys/kernel/core_pattern, like so:

echo core >/proc/sys/kernel/core_pattern
[-] PROGRAM ABORT : Pipe at the beginning of ‘core_pattern’
Location : check_crash_handling(), afl-fuzz.c:7314
解决方法有两种:
添加环境变量,参考 Disabling the /proc/sys/kernel/core_pattern check 1
export AFL_I_DONT_CARE_ABOUT_MISSING_CRASHES = 1
按照 AFL 提示修改文件 1
2
sudo su
echo core >/proc/sys/kernel/core_pattern
4.2 CPU frequency
CPU frequency错误
[-] Whoops, your system uses on-demand CPU frequency scaling, adjusted
between 781 and 1660 MHz. Unfortunately, the scaling algorithm in the
kernel is imperfect and can miss the short-lived processes spawned by
afl-fuzz. To keep things moving, run these commands as root:
cd /sys/devices/system/cpu
echo performance | tee cpu*/cpufreq/scaling_governor

You can later go back to the original state by replacing 'performance' with
'ondemand'. If you don't want to change the settings, set AFL_SKIP_CPUFREQ
to make afl-fuzz skip this check - but expect some performance drop.
[-] PROGRAM ABORT : Suboptimal CPU scaling governor
Location : check_cpu_governor(), afl-fuzz.c:7376
这是 CPU 频率未固定的错误提示,参考
这里 ,解决方案是引入环境变量:
1
export AFL_SKIP_CPUFREQ = 1
